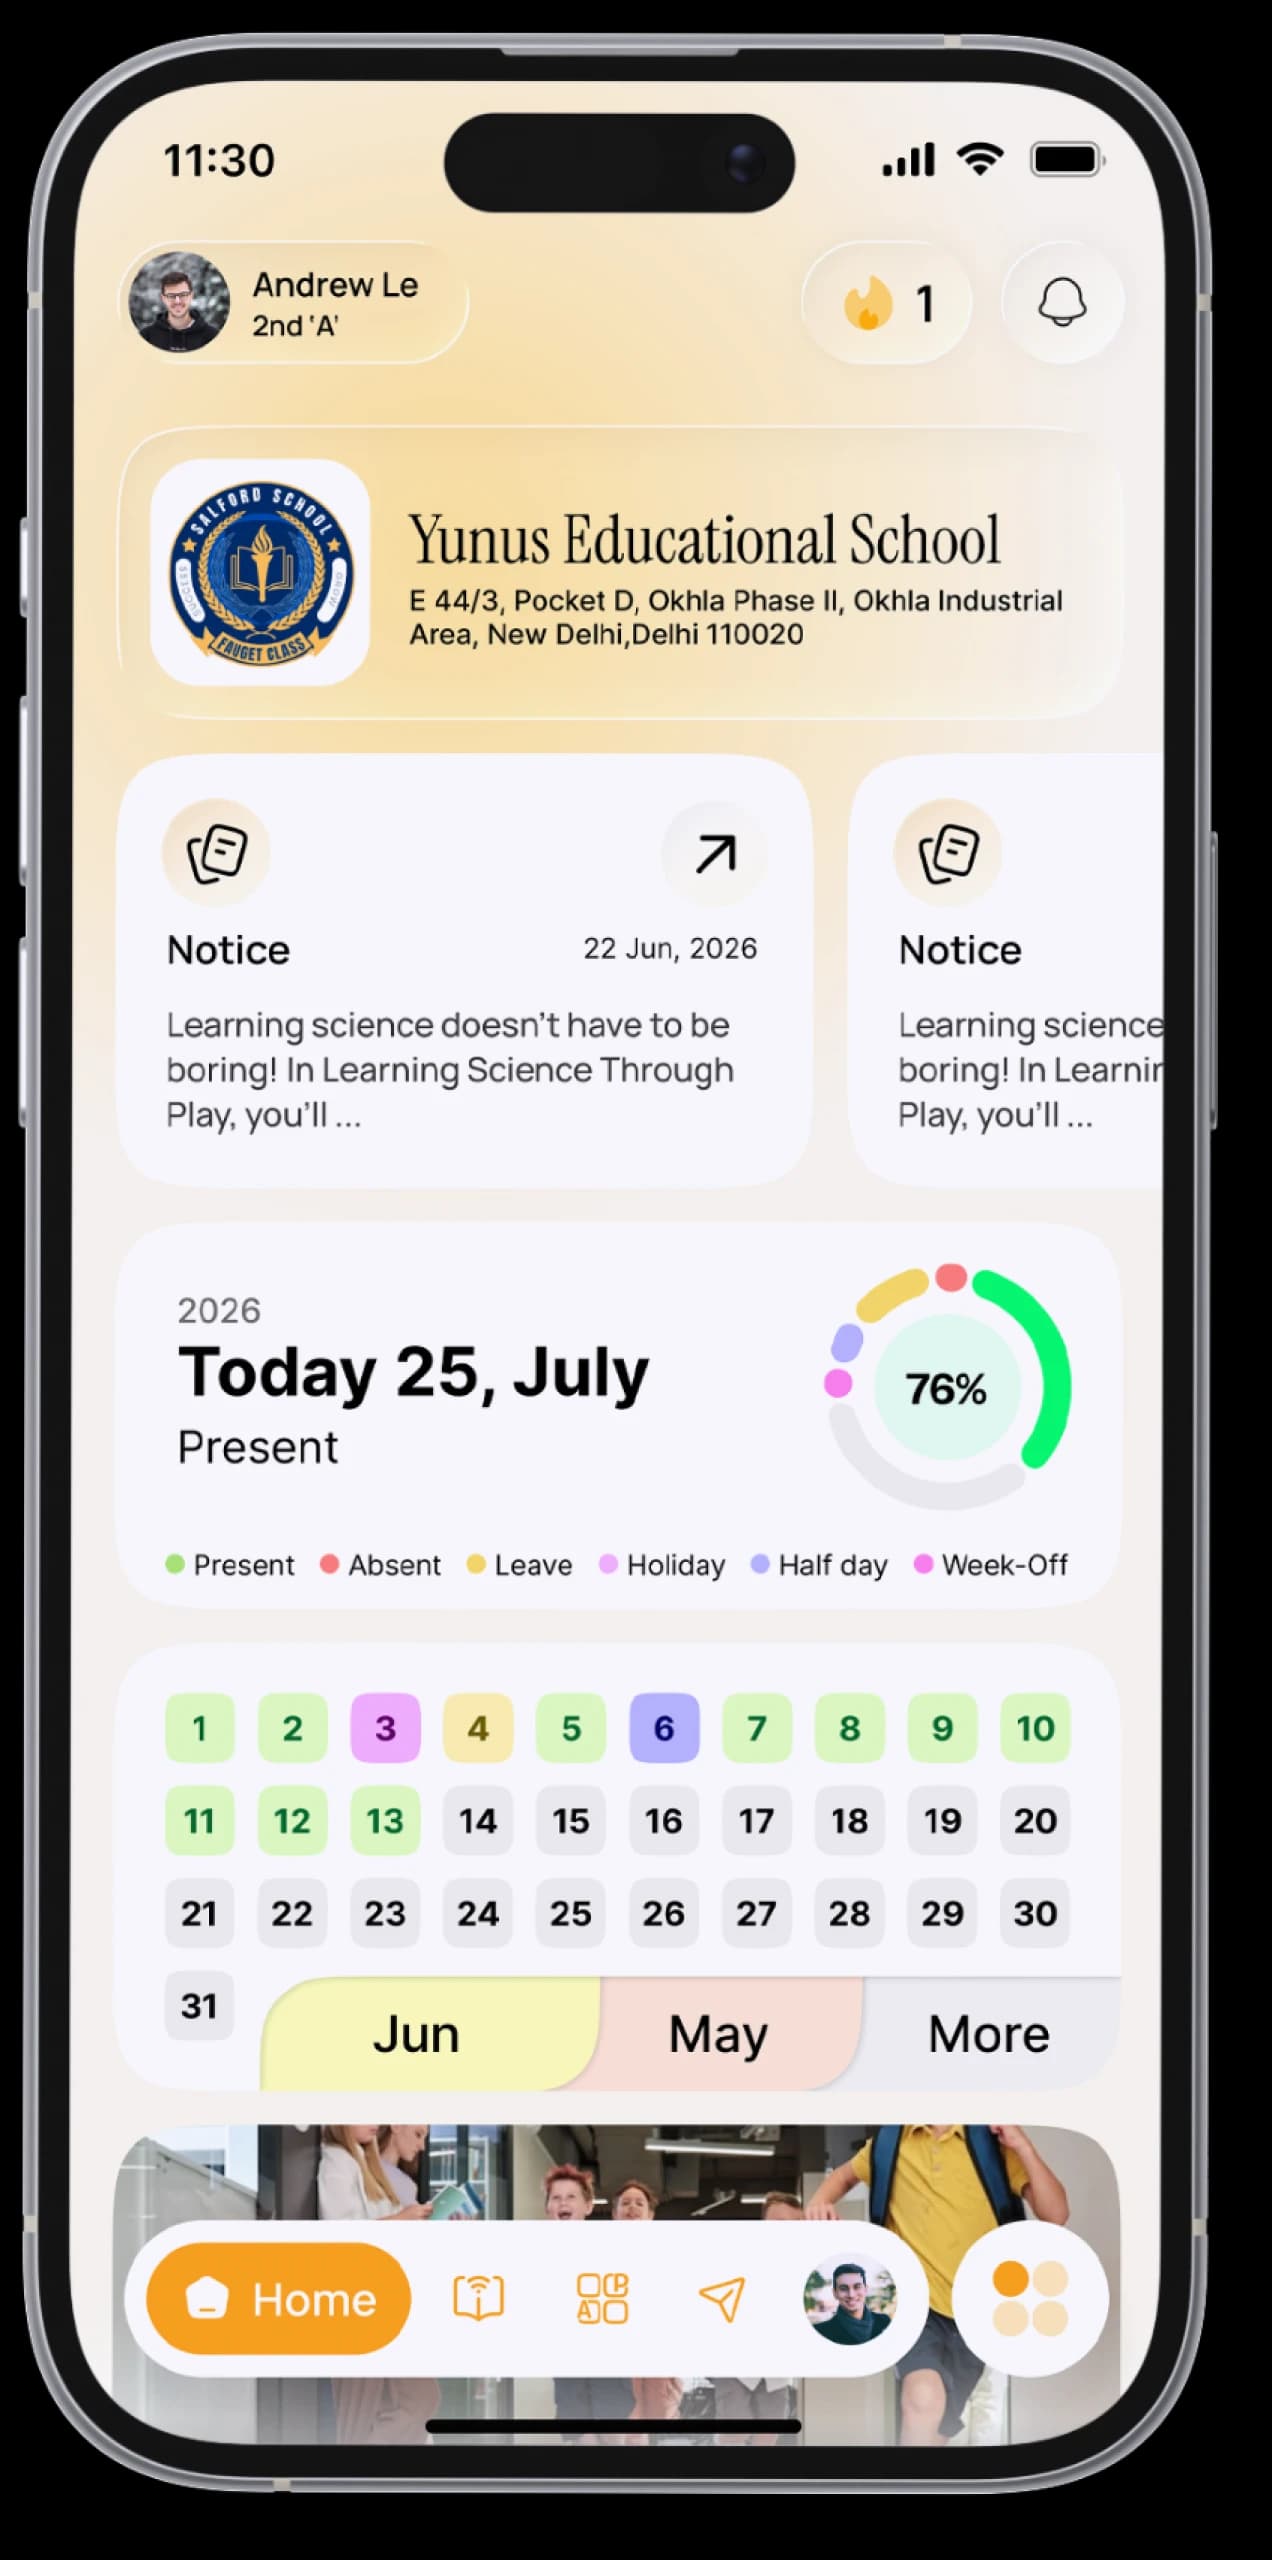
Create School Profile and Increase your Admission
Free school management software solution with ERP SchoolAura. Get Fee management, Attendance management, Student Assignment, etc.
Published 24 Mar, 2025

Step 1: Account Registration
- Access the Registration Page: Navigate to the official ERP SchoolAura registration page. Register Now.
- Complete the Registration Form: Provide all required information accurately. This typically includes:
- School Name
- Principal/Administrator Name
- Contact Phone Number
- Official School Email Address
- Create a Secure Password
- Email Verification: After submitting the registration form, you will receive an email containing an OTP (One-Time Password) or a verification link.
- Important: Check your spam or junk folder if you don't see the email in your inbox.
- Enter the OTP or click the verification link to confirm your email address.
- Confirmation: Upon successful verification, you will see a confirmation message (e.g., "Thank you for registering" or "Account verified").
Step 2: School Profile Creation
- Log In: Use the email address and password you created during registration to log in to your SchoolAura account.
- Navigate to Profile Creation: Look for a "Profile," "School Profile," or a similar section within the SchoolAura dashboard.
- Complete the School Profile Form: Fill in all the required fields with accurate and detailed information. This should include:
- School Identification: School Name, School Code (if applicable), School Logo (upload).
- Contact Information: School Address, Phone Numbers, Email Addresses, Website URL.
- Administrative Details: Principal's Name, Administrative Staff Details, School Type (public, private, etc.), Educational Levels, Affiliation.
- School Facilities and Programs: Information about facilities, curriculum, extracurricular activities, and special programs.
- Miscellaneous Information: School Motto/Vision, School History, School Calendar, Photo Gallery (upload images).
- Save and Submit: Carefully review all information before saving.
- Submit the completed profile for approval.
Step 3: Profile Approval and Publication
- Profile Review: The ERP SchoolAura support team will review your submitted profile for accuracy and completeness.
- Approval Process: This process may take some time. You may receive an email notification regarding the approval status.
- Profile Publication: Once approved, you can publish your school profile on the SchoolAura portal.
- Profile Visibility: After publication, your school profile will be visible to users on the SchoolAura platform.
Initial Stage Helpful Features:
- Online Admissions Management: Simplify the admissions process for prospective students and parents.
- Basic Communication Tools: Use messaging features to communicate effectively with parents and staff.
- School Calendar and Event Management: Keep stakeholders informed about important dates and events.
- Student Information System (Basic): Start managing student data, such as contact information and attendance.
- School Promotion features: Use any features that help you get your school known to a wider audience.
- Best ERP Software solution: ERP Schoolaura is a Best ERP School software for manage your school and management
Important Notes:
- Always refer to the official ERP SchoolAura documentation or support resources for the most up-to-date instructions.
- Ensure all information provided is accurate and complies with any relevant regulations.
- Keep your Login information safe.